
How to Read Check Engine Light Codes on a 2017 Honda Pilot
When the check engine light illuminates on your 2017 Honda Pilot's dashboard, it can trigger immediate concern. However, this warning light is actually your vehicle's way of communicating that its onboard diagnostics system has detected an issue. By learning how to read these diagnostic trouble codes (DTCs), you can gain valuable insights into your Pilot's health and potentially address minor issues before they become major problems.
Common Causes for Check Engine Light in a 2017 Honda Pilot
Some frequent reasons the CEL may come on include:
- Loose or damaged gas cap
- Oxygen sensor failure
- Faulty catalytic converter
- Mass Air Flow (MAF) sensor issue
- Ignition coil or spark plug problems
- EVAP system leaks
- Transmission issues
Since these components span a wide range of systems, identifying the exact cause requires reading the diagnostic trouble codes (DTCs).
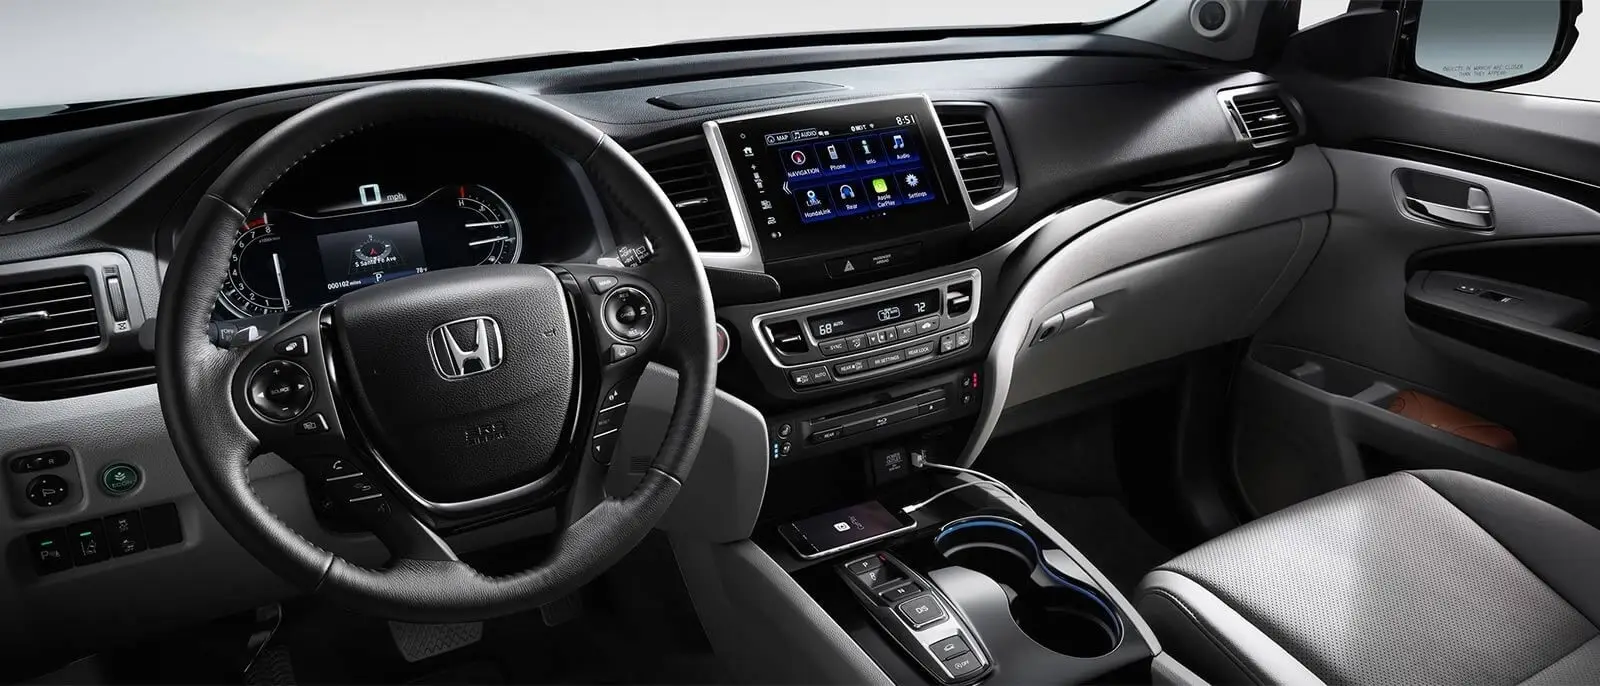
Locating the OBD-II Port in Your 2017 Honda Pilot
Before you can read any diagnostic codes, you'll need to locate your vehicle's OBD-II port. In the 2017 Honda Pilot, this 16-pin connector is typically found:
- Under the dashboard on the driver's side
- Near the steering column
- Within three feet of the steering wheel (as required by regulations)
The port is designed to be easily accessible without tools, though some models may require you to remove a small cover panel. If you're having trouble locating it, consult your owner's manual for the exact position in your specific Pilot model.
Step-by-Step Guide to Using the VDIAGTOOL VD70 Scanner
The VDIAGTOOL VD70 is a professional-grade OBD-II scanner that offers exceptional functionality for Honda owners. Here's how to use it with your 2017 Pilot:
1. Prepare Your Vehicle
- Park your Pilot on level ground and ensure the parking brake is engaged
- Turn the ignition to the "OFF" position
- Locate the OBD-II port as described earlier
2. Connect the VD70 Scanner
- Plug the VD70's connector into your Pilot's OBD-II port
- The device should power on automatically (some models may require you to press a power button)
3. Retrieve Diagnostic Codes
- Turn the ignition to the "ON" position (but don't start the engine)
- Follow the on-screen prompts on the VD70 to initiate a system scan
- The scanner will communicate with your Pilot's ECU and retrieve any stored codes
4. Interpret the Codes
The VD70 will display the codes in a format like "P0171." These codes consist of:
- A letter (P for powertrain, B for body, C for chassis, U for network)
- A digit indicating whether it's generic (0) or manufacturer-specific (1)
- A system identifier digit
- Two specific problem digits
The VD70's advanced features include:
- Code definitions and possible causes
- Repair suggestions
- The ability to view freeze frame data (conditions when the code was set)
- Live data streaming for real-time monitoring
5. Address the Issue
Once you've identified the problem:
- Research the specific code using the VD70's database or online resources
- Determine if it's something you can address yourself (like a loose gas cap) or requires professional attention
- Make necessary repairs or schedule service
6. Clear the Codes (If Appropriate)
After addressing the issue:
- Use the VD70's "Clear Codes" function
- Verify the repair by driving your Pilot through a complete drive cycle
- Confirm the check engine light remains off
Why Choose the VDIAGTOOL VD70 for Your Honda Pilot?
While there are many OBD-II scanners on the market, the VDIAGTOOL VD70 offers several advantages specifically beneficial for Honda owners:

- Enhanced Honda Compatibility
- Specifically programmed to work seamlessly with Honda's diagnostic systems
- Accesses manufacturer-specific codes that generic scanners might miss
- Advanced Features
- Reads and clears codes
- Views freeze frame data
- Displays live data streams
- Performs system tests
- Offers module coding and programming capabilities
- User-Friendly Interface
- Large, clear display
- Intuitive menu navigation
- Help functions and code explanations built in
- Durability and Reliability
- Rugged construction for shop or home use
- Regular software updates are available
- Excellent customer support
- Cost-Effectiveness
- More affordable than professional shop scanners
- Pays for itself after just a few uses compared to diagnostic fees
The Check Engine Light is your car’s way of telling you something needs attention. Rather than panic or blindly guess, use a smart tool like the VDIAGTOOL VD70 to take control of your vehicle’s health.
Whether you're troubleshooting a loose gas cap or checking why your fuel economy has dropped, reading diagnostic codes on a 2017 Honda Pilot has never been easier.
Recommended Tool: [VDIAGTOOL VD70] - Reliable. Accurate. Affordable.


